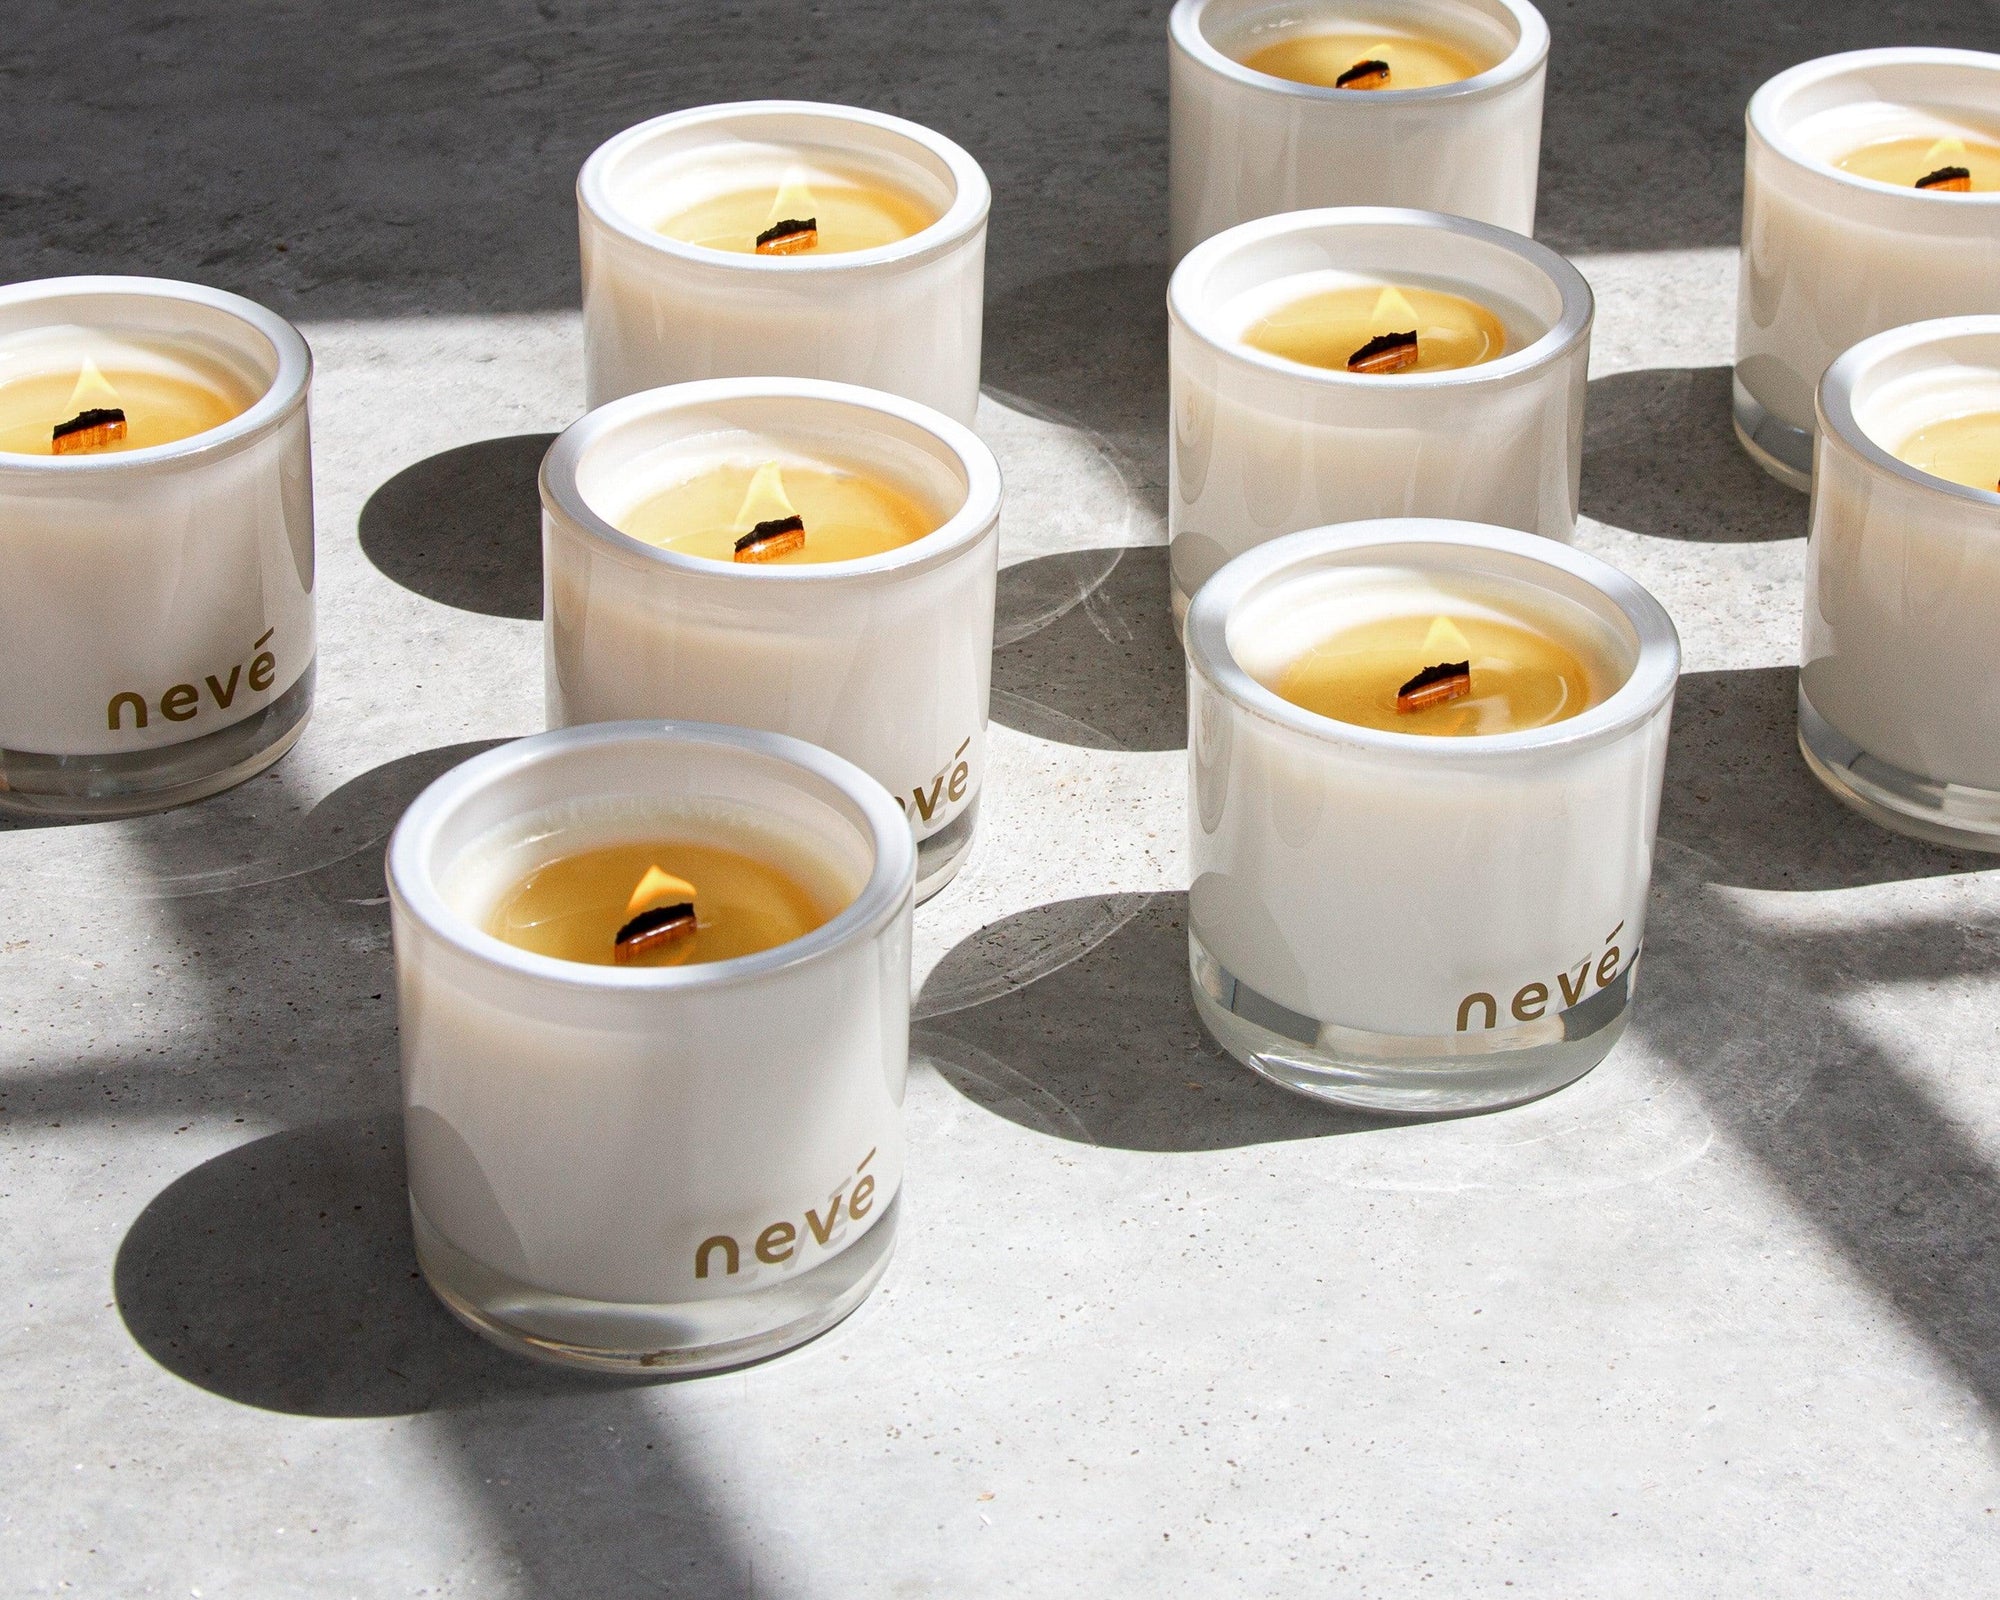
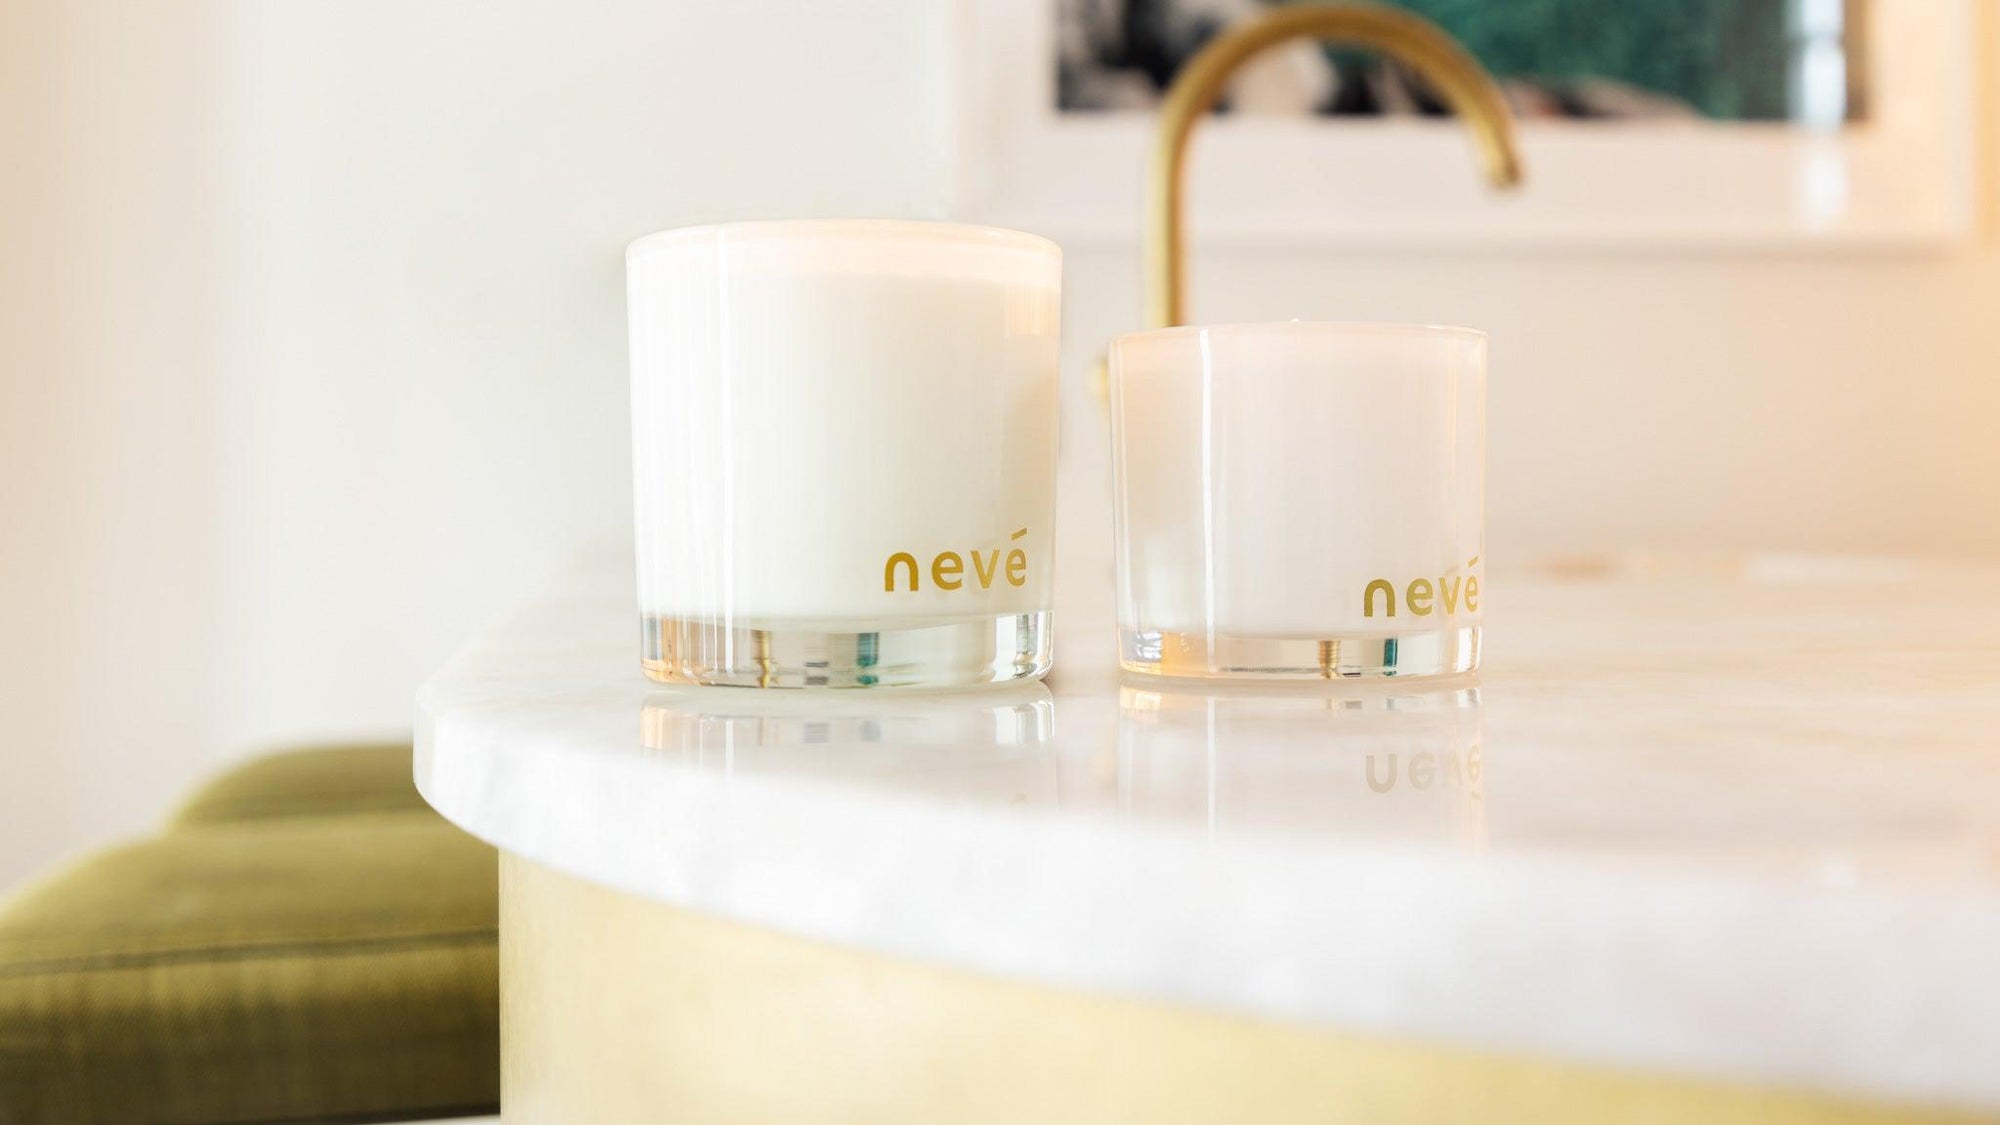
Your guide to a beautiful burn.
Hands up if you’ve ever been personally victimised by a low burning flame or your wood wick just can’t seem to stay lit?
Chances are, your wood wick is in serious need of some TLC (tender lighting care). The good news? We’ve got you covered with our tips and tricks to ensure your Nevé candle stays beautiful burn after burn.
Let It Burn
This is a crucial step when lighting your Nevé candle for the first time and will make future burns so much better. You’ll want to wait until the wax has completely melted to the edge of the candle before extinguishing the flame to avoid creating a ‘memory ring’. These rings will continue to tunnel through for the life of a candle, so it’s best to burn properly the first time around.
Hot tip: if you have to put your candle out before the melt pool has reached the edges of the jar, you can either gently rotate the candle while the wax is warm so it reaches the edge or use a spoon to lightly remove the edges once cool (but still soft). This is a life-hack that we’ve used to prevent tunneling further.

Tools of the Trade
There’s no denying that the secret to your Nevé candle burning better and lasting longer is to keep the wick trim and proper.
To get an even burn every time, keep your wick trimmed between 3mm – 5mm and remove any wick debris before lighting your candle. Our Wick Trimmers are an essential item for any candle lover’s kit; not only do they prevent you from getting soot all over your fingers but show that you mean business and take your candle care very seriously.
If you don’t have a wick trimmer handy, you can also 'snap' the burnt wood using your fingers and a tissue.
If the candle has been burning for a long period of time and the flame is getting too low, you may need to tap off any excess ash or burnt wood along the top of the wick. However, be careful to never break off the entire charred wick as it won’t leave you with enough wick to relight the candle.

Photography by Olivia Atkinson Design


